Blackmagic
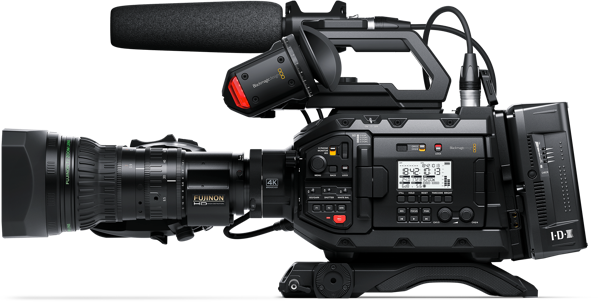
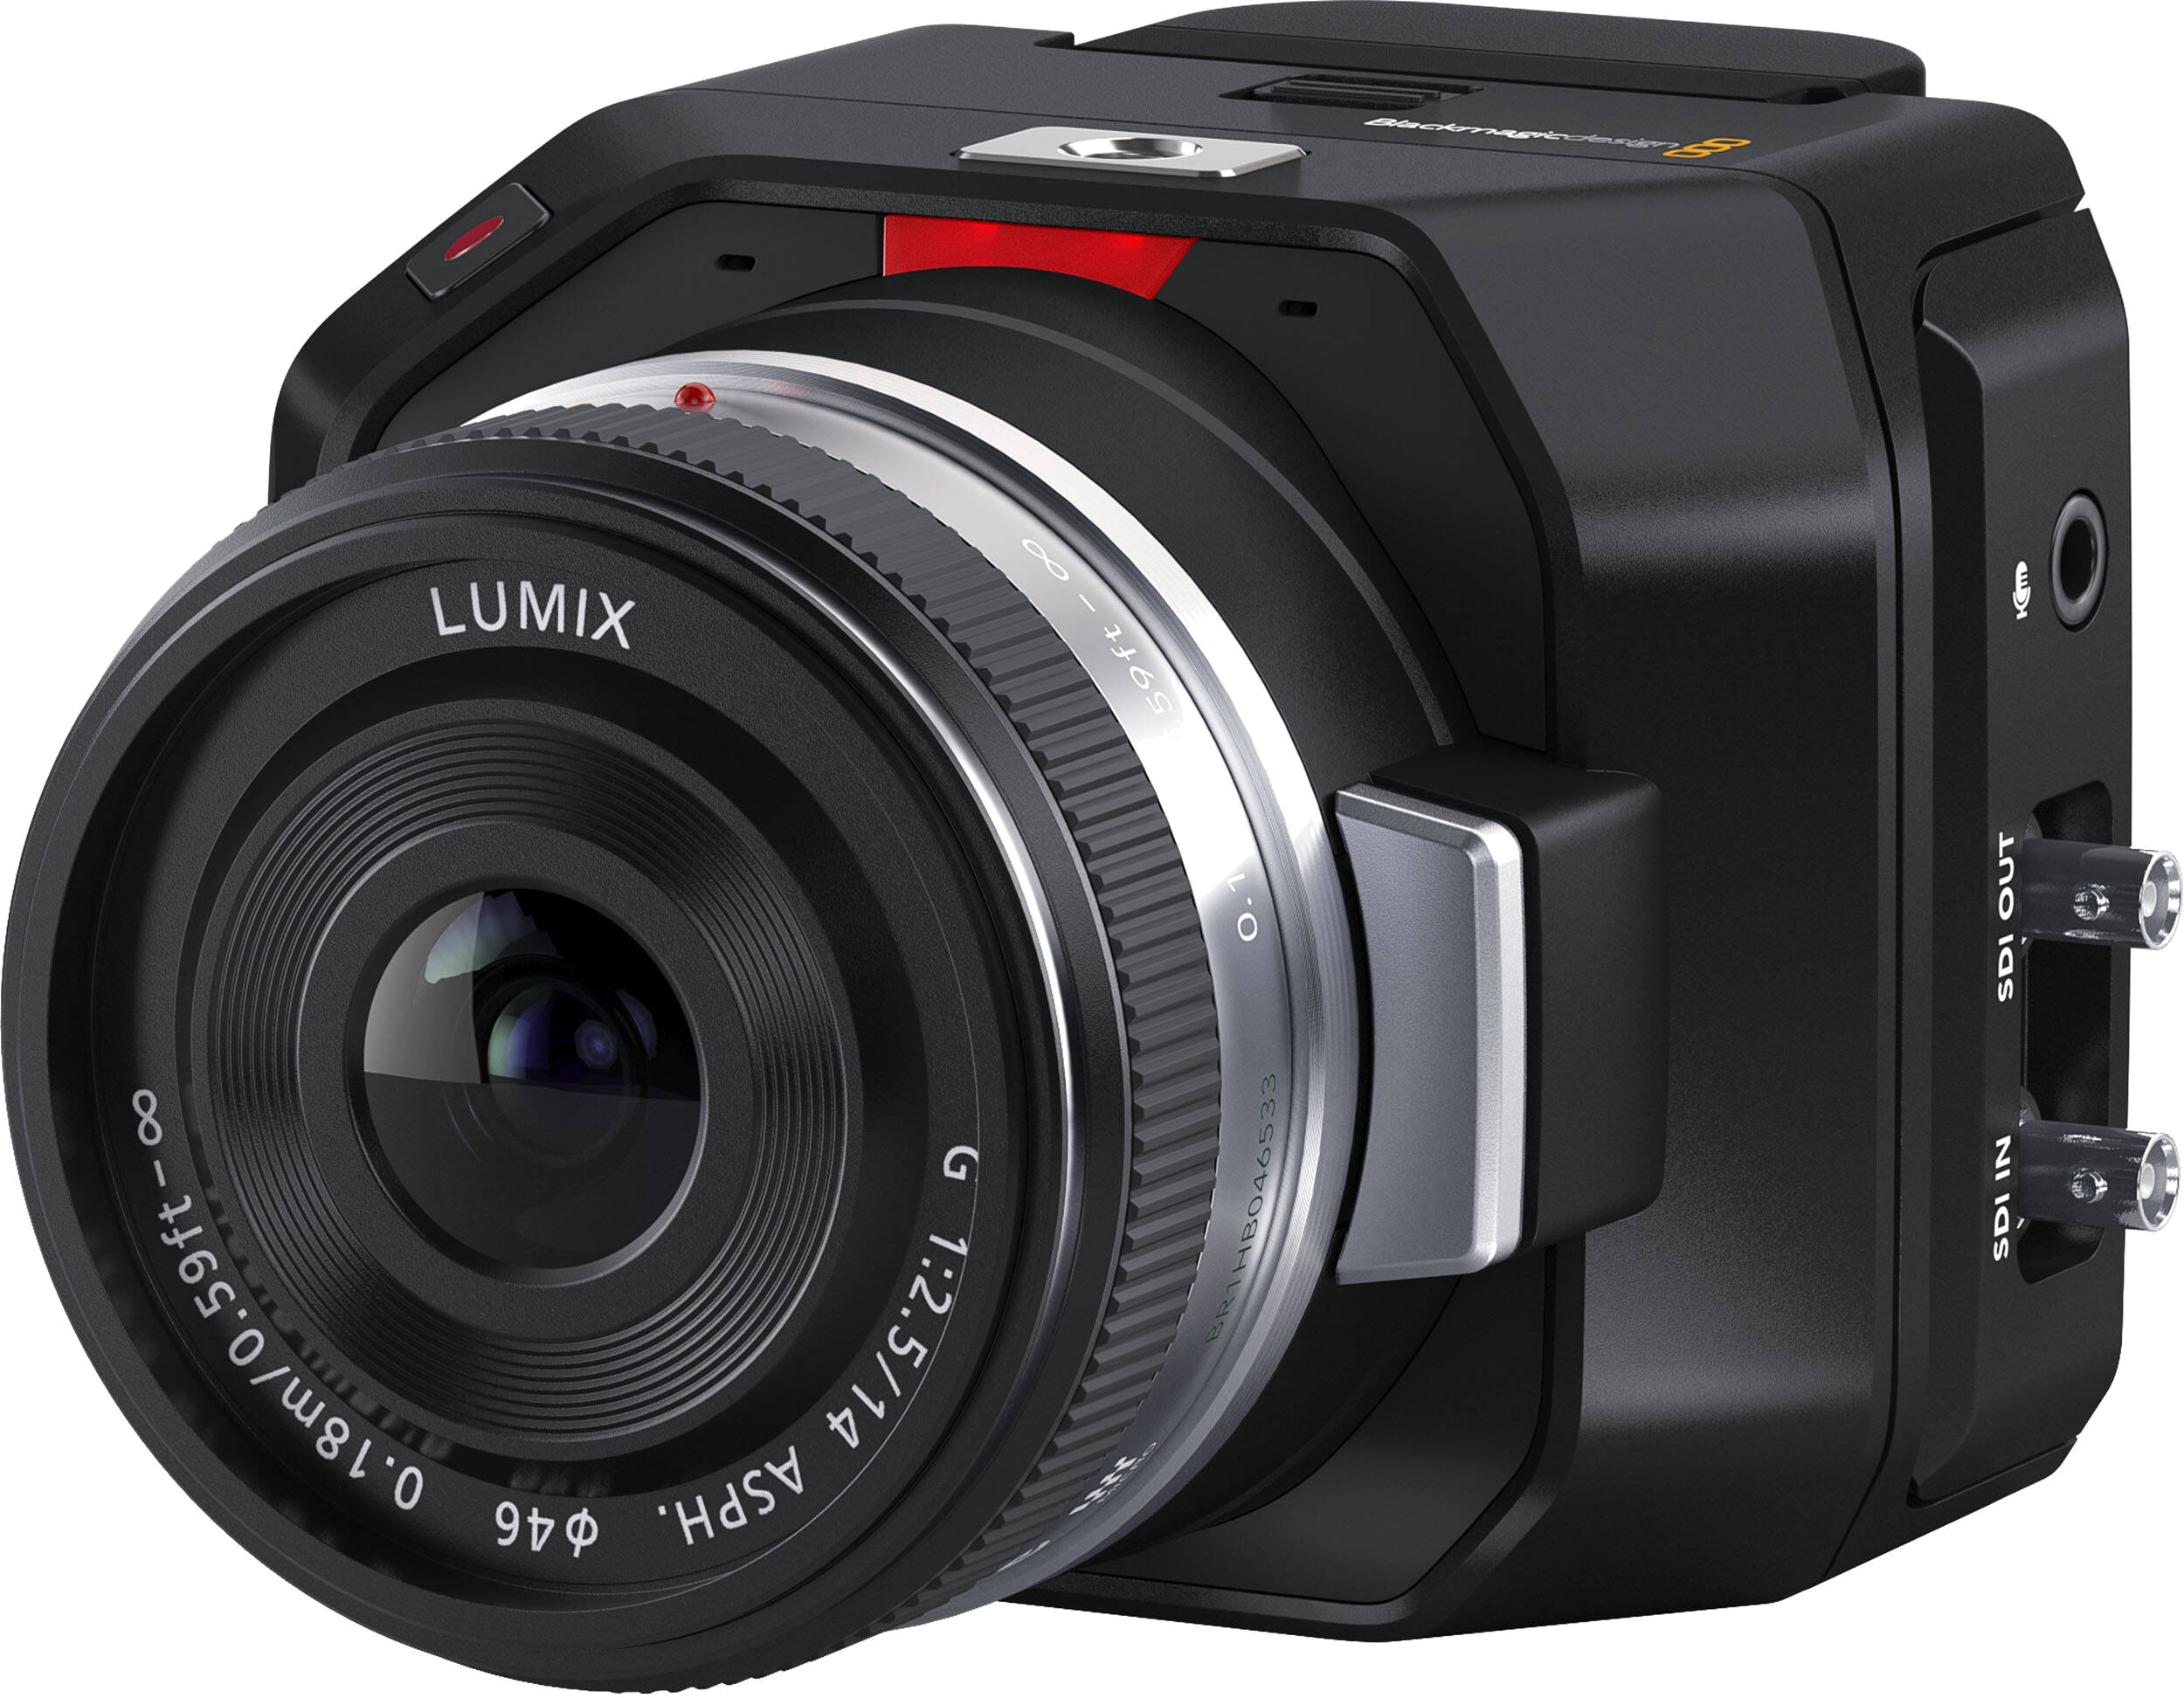
Supported Models
Model | Control protocol |
|
|
Older SDI cameras:
|
|
|
|
Supported Control
Exposure | |
| Manual and AUTO iris |
| Gain in dB or ISO |
| Manual, AUTO, ECS |
White balance | |
| |
| |
| |
Primary corrections | |
| |
Advanced corrections | |
| |
| |
| |
Lens | |
| |
Other controls | |
| |
|
Workflow
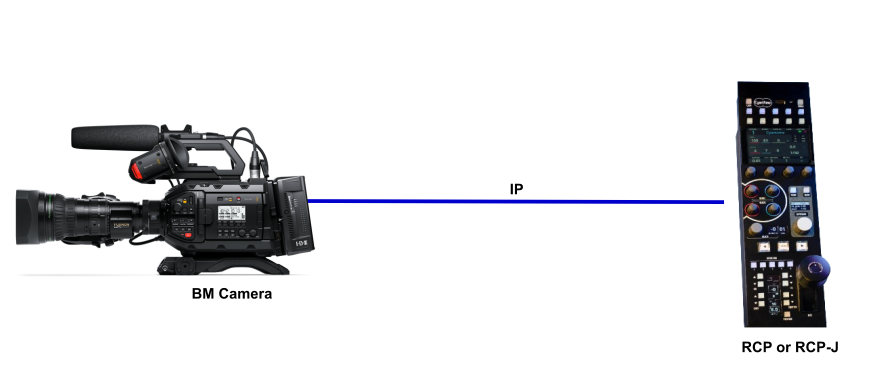
Camera control via IP
In local, the RCP connects directly to your cameras.
Control through a micro converter
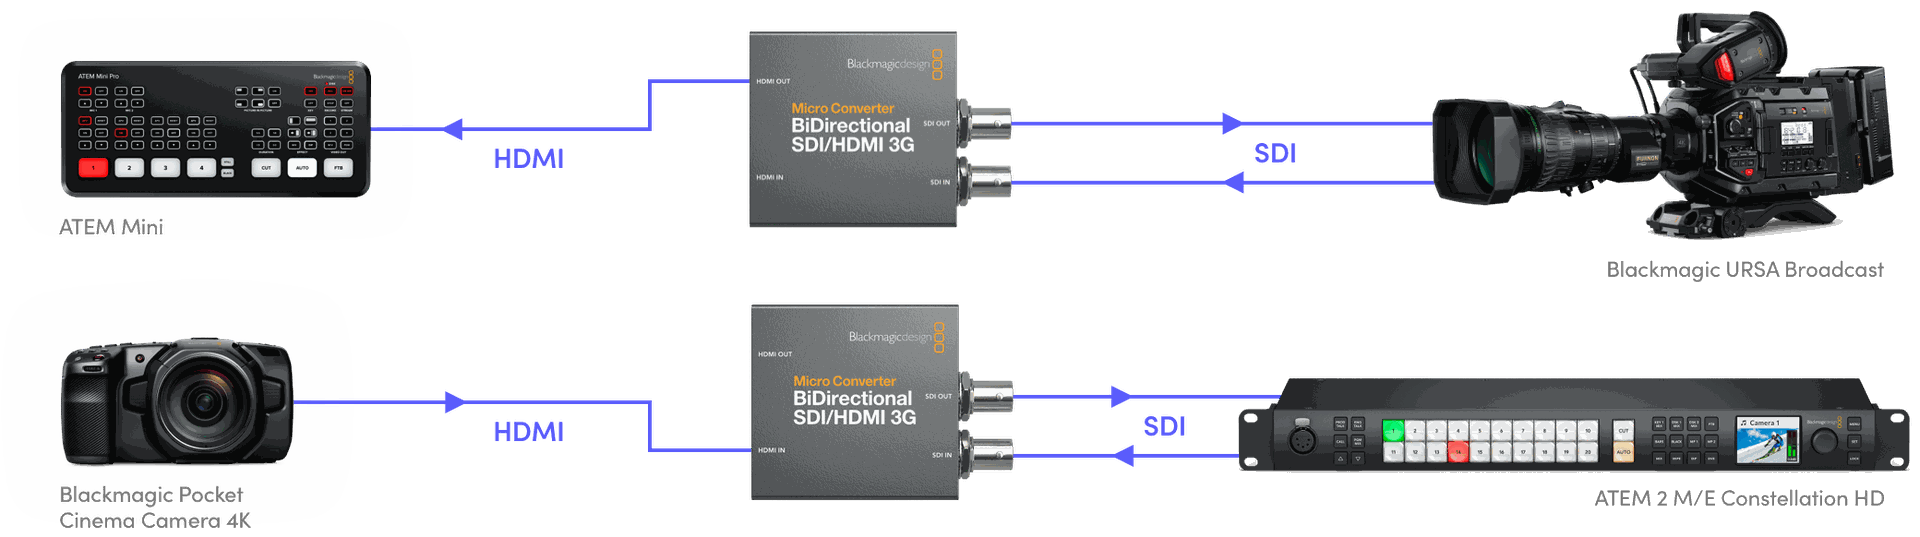
Camera control via SDI
There are 2 Workflows for controlling Blackmagic cameras over SDI
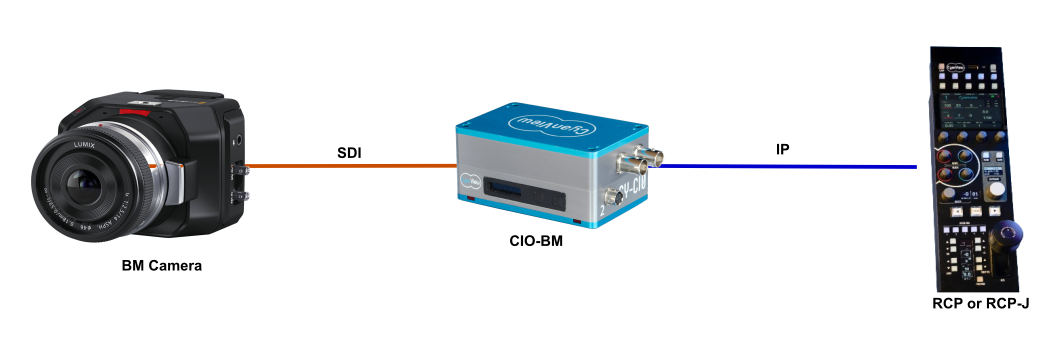
Method 1:
The RCP connects to a CI0-BM (it's a specific CI0 with 3 ports: 2 serials and 1 SDI out+loop).
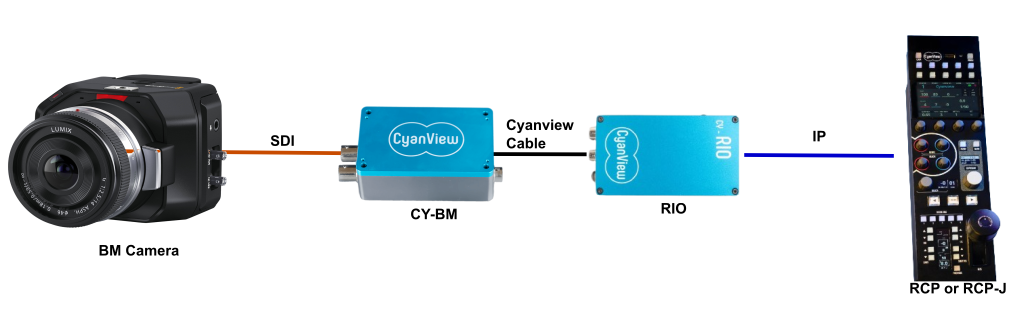
Method 2:
The RCP connects to a RIO over LAN, WAN or 4G. The RIO then connects to the CY-BM to then control the camera over SDI.
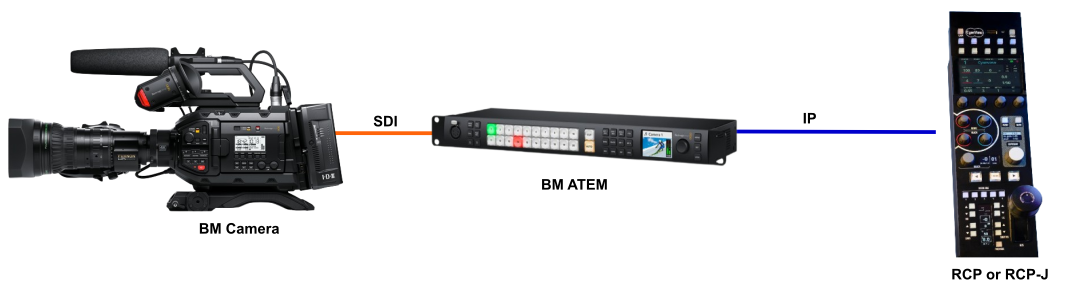
Camera control via ATEM
The RCP connects to the ATEM via IP. Then the ATEM connects to every Blackmagic camera over SDI.
Configuration
Camera control via IP setup
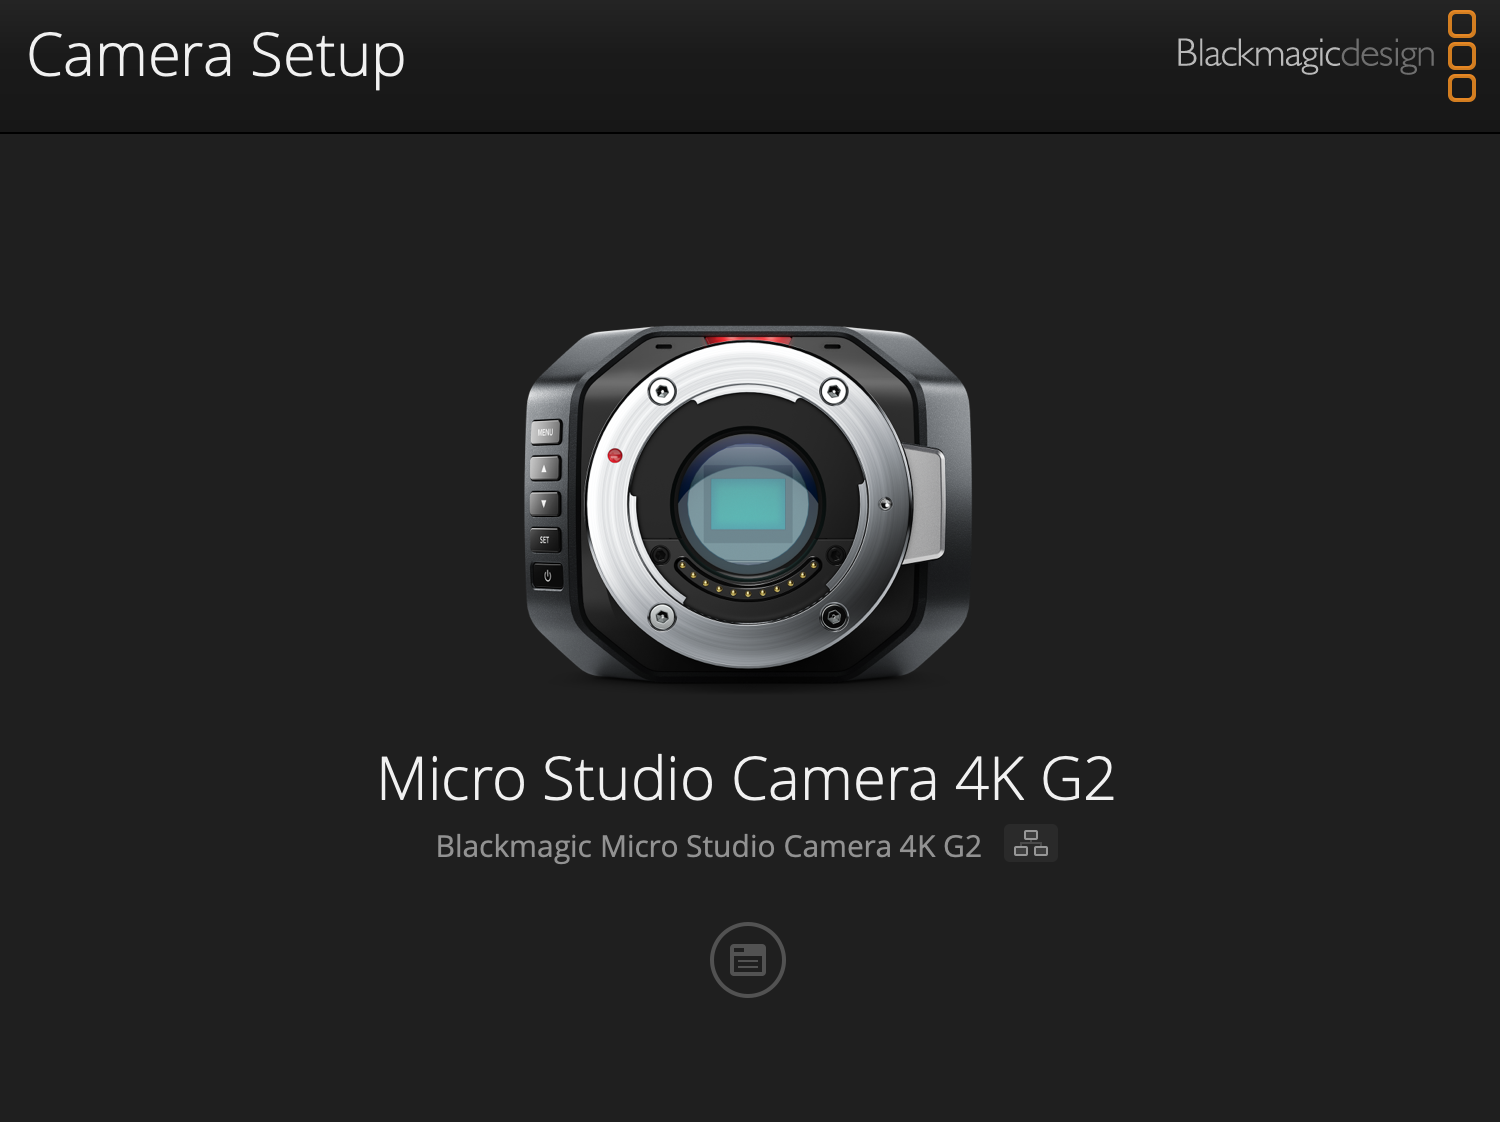
Camera setup:
Plug the camera to your laptop through USB (or IP if already configured).
Open the software Blackmagic Camera Setup, select your camera
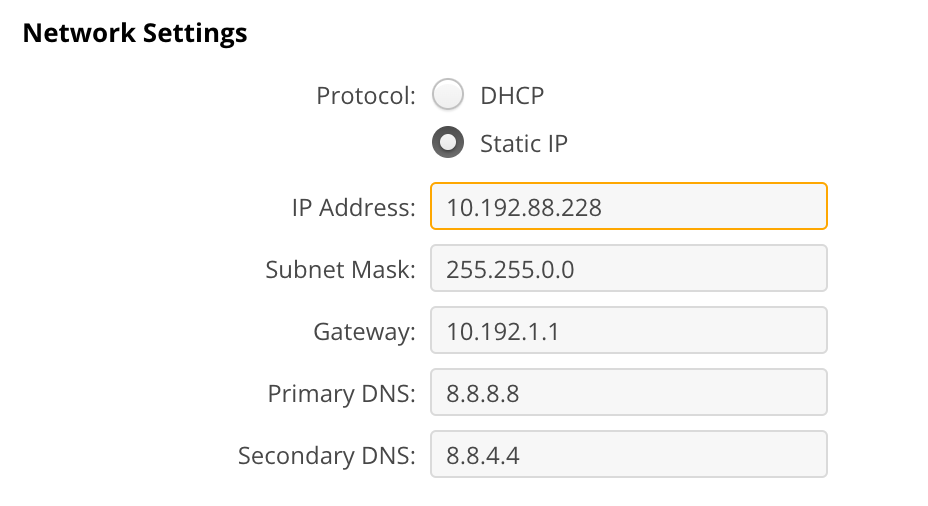
Configure the camera's IP address. Ensure it is a valid IP (can be DHCP or static).
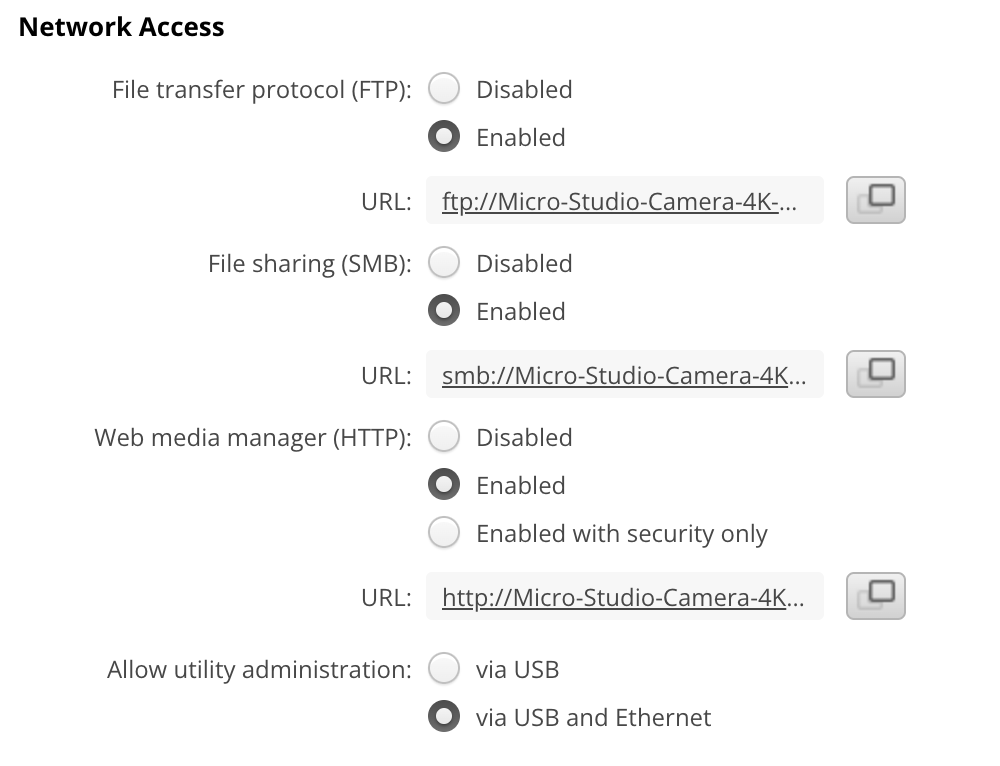
Enable the remote control: Web media manager (HTTP)
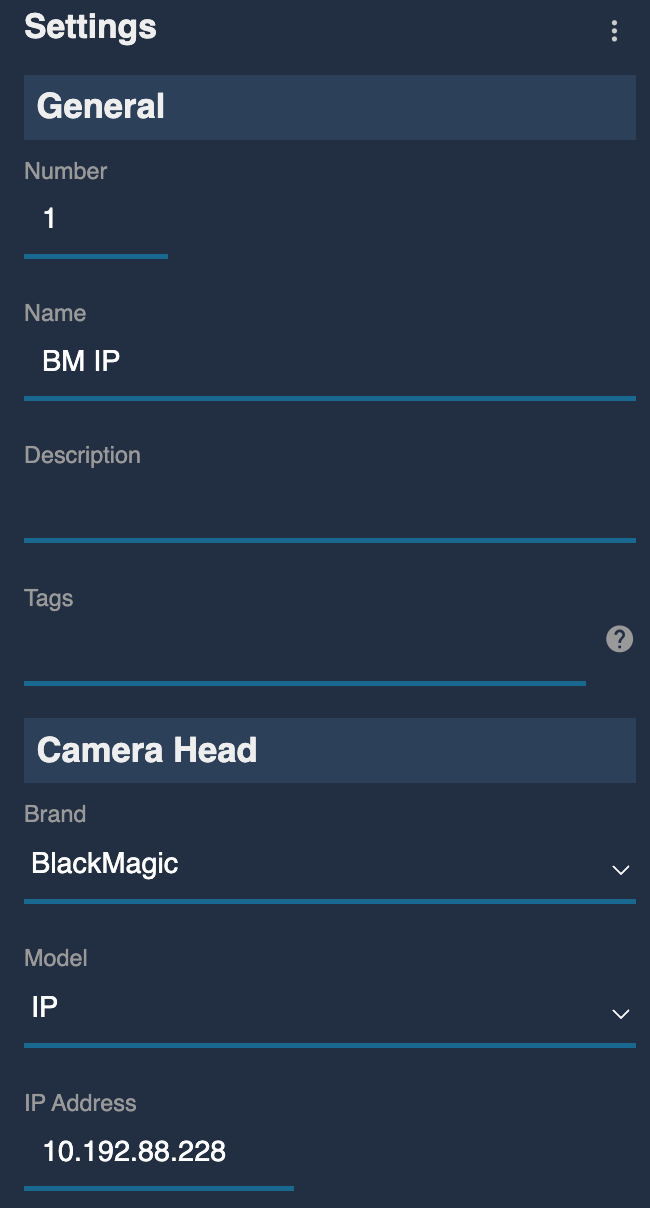
RCP/RIO Setup
Access the RCP Web User Interface
- In the Camera section click on
+ to add a new camera
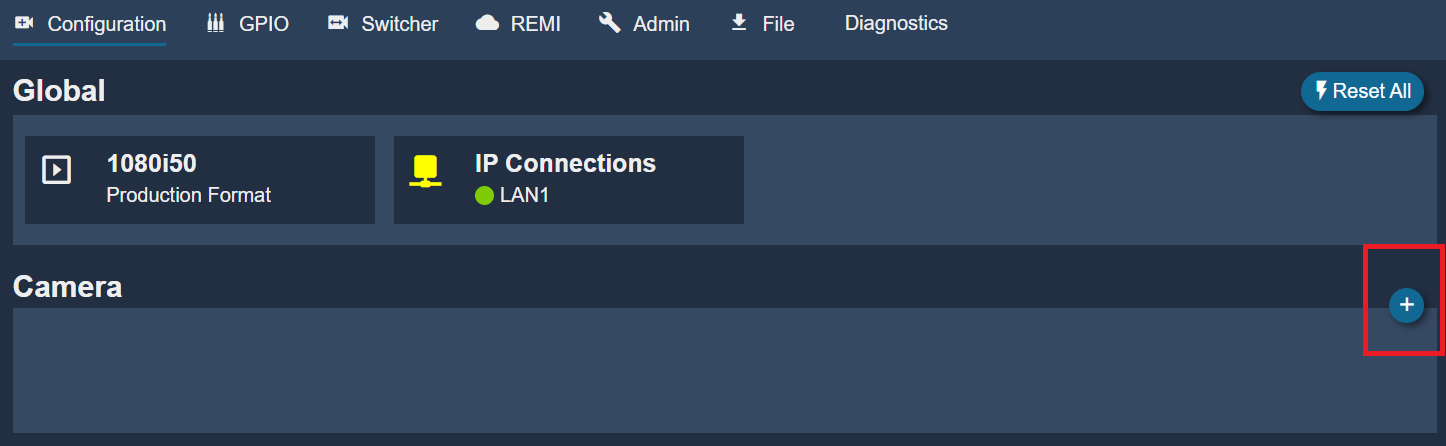
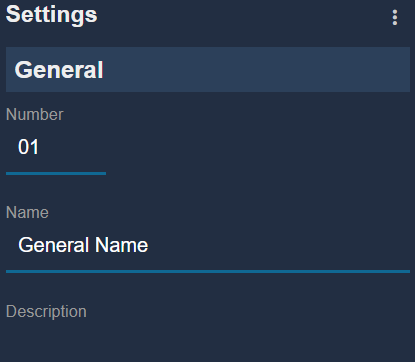
- In
General add a cameranumber andname. This is anything related to your workflow.
- Select brand:
Blackmagic - Select model:
IP - Enter the IP of the camera. This example used
10.192.88.228
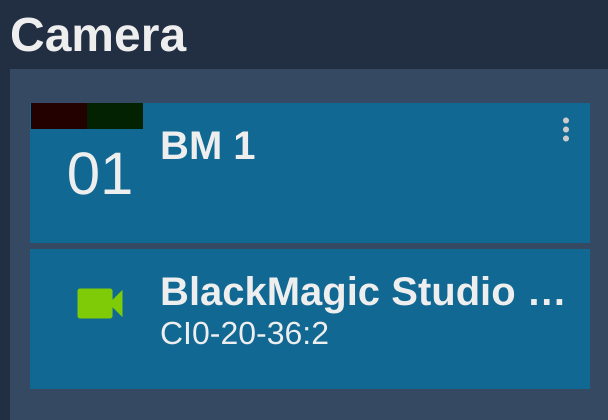
- If configured correctly, the status will go
green

Camera control via SDI
- In the Camera section click on
+ to add a new camera
- In
General add a cameranumber andname. This is anything related to your workflow.
- Select brand:
Blackmagic - Select model:
SDI - If using a
CI0-BM, select theCI0 port 3 - If using
RSBM with aRIO, select the port on which theRSBM is plugged
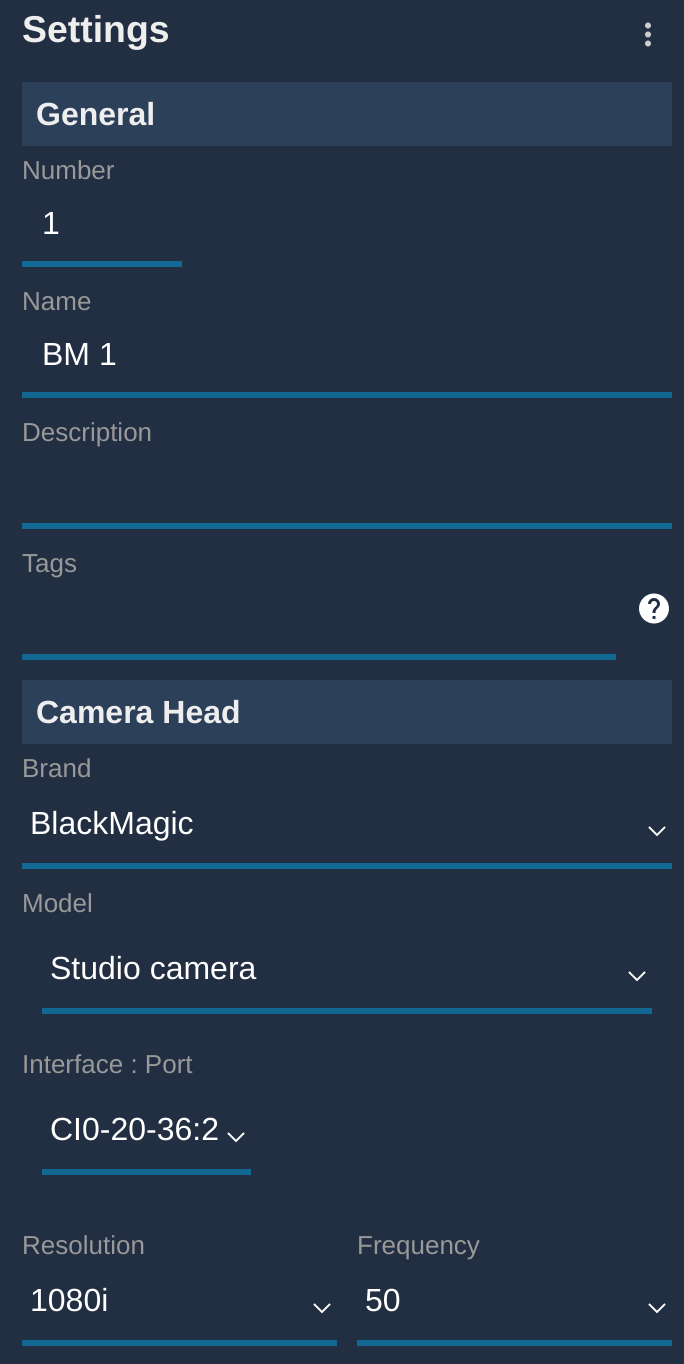
- If configured correctly, the status will go
green
Camera control via ATEM
You first need to add your ATEM in your configuration, see this guide.
You should have this block configured and green:
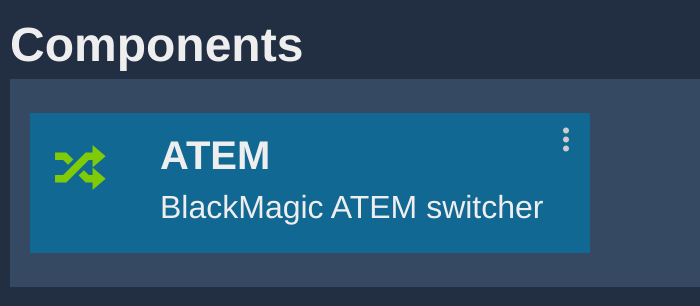
Then you can add your cameras:
- In the Camera section click on
+ to add a new camera
- In
General add a cameranumber andname. This is anything related to your workflow.
- Select brand:
Blackmagic - Select model:
Atem - Then select in the interface drop-down list your
ATEM andcamera ID
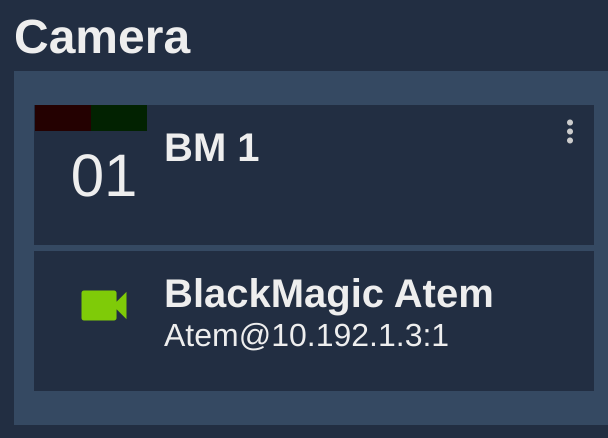
In this example, the ATEM has an IP 10.192.1.3 and camera ID 1:
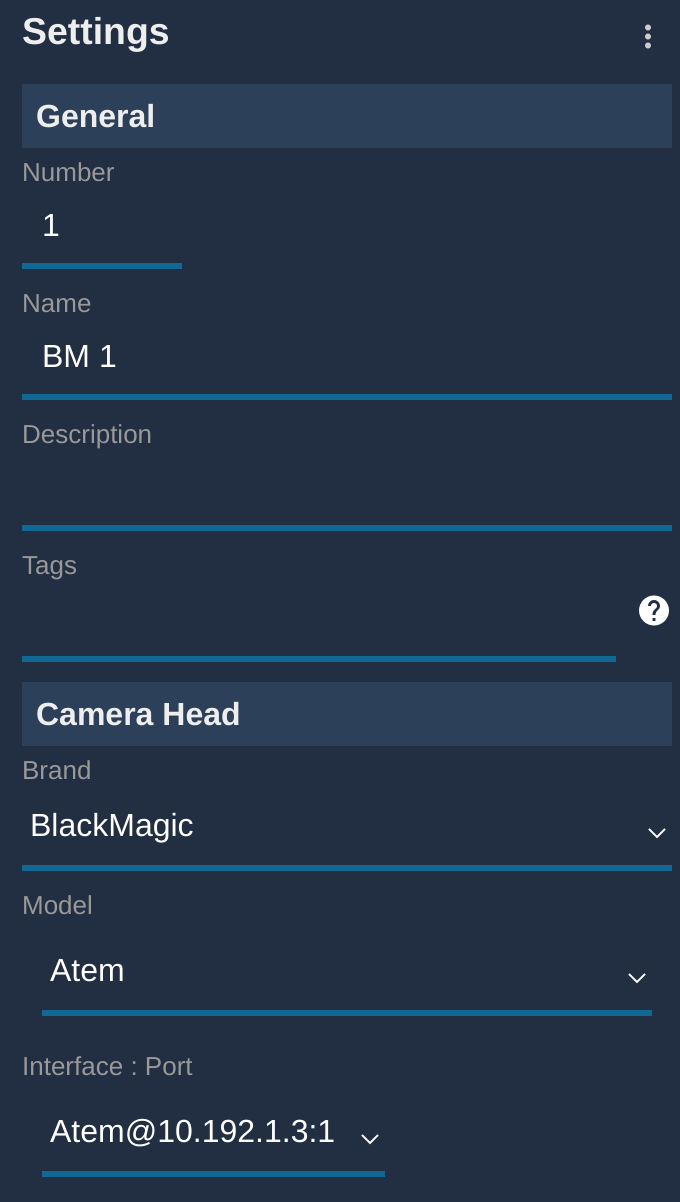
- If configured correctly, the status will go
green
Troubleshooting
When I zoom in, the focus and/or iris changes
We control the lens through the camera. And the protocol is bidirectional (which is not the case of the SDI), so we receive updated infos from the cameras.
This issue usually happens on microstudio G2. The supported lenses are not parafocal, and the camera is somehow compensating. Zooming will cause
- Focus value change
- Iris value change
Some cameras (like Dreamchip mini Zoom) have non parafocal lenses, compensate also, but the value they send are not the "RAW" ones. Blackmagic compensate and the values are the RAW ones, compensated.
This makes it unusable with focus handles for example as the control is absolute:
- you can change the focus (as the control is absolute and the handle is absolute)
- you can't zoom (as the control is in speed/relative and the camera expect position), but if you change zoom from RCP it works.
- now if you move focus again the real value and the handle value are not the same anymore, then touch the focus you will see a glitch.
But this is not an issue if you change zoom/focus using the RCP as you will:
- change zoom using encoder (absolute position)
- you will see the focus changing
- if you change the focus now, it will be done with the updated value, no glitch
You can check by yourself it's a "camera issue" (my camera IP is 10.192.1.1):
$ curl http://10.192.1.1/control/api/v1/lens/focus

{
    "normalised": 0.5400898456573486
}%

$ curl -X PUT http://10.192.1.1/control/api/v1/lens/zoom \
     -H "Content-Type: application/json" \
     -d '{"focalLength": 35}'

$ curl http://10.192.1.1/control/api/v1/lens/focus

{
    "normalised": 0.4116251468658447
}%
We did some API call directly on the camera and we see:
- we check focus value and its 0.54
- we change the zoom to 35
- we read back the focus and now its 0.41
My camera stays RED - IP Setup
- Ensure your RCP is at least in 23.1.3
- Ensure your Camera is at least in 8.5 (but not in 8.7)
- Ensure you can ping the camera from your laptop
- Ensure you enabled the Web media manager (HTTP), browse http://10.192.88.228/control/documentation.html (replace the IP with your camera IP)
- Sometime at startup the IP is not properly setup in the camera:
- try to power cycle the camera
- try to unplug/replug the USB-C Ethernet dongle
- try to navigate to the IP setup menu, edit a value (but don't change anything, just validate it), then power cycle
Once you can ping the camera and browse the webpage, you're ready to configure it in Cyanview.
Camera is green but I have no control of anything - SDI Setup
If the camera is green, it means that the RCP/RIO/RSBM are properly communicating.
Check wiring:
- SDI should be in the middle SDI on your RSBM/CI0-BM
- and in SDI input on your camera
Each camera has an ID, usually it's 1 and if you configure your camera without a "bus", that what we use. So double check the config of your camera and RIO to ensure ID's are matching.
Iris values are not matching - SDI Setup
We control the lens through the camera protocol and it's unidirectional (no read back values).
So we need to cover a wide range, but don't know what the actual lens supports and the camerca can't tell us the actual range. So you could totally have 1.8 on your RCP and 4 on your lens.
But except from these extremums, if your lens goes from 4 to 22, then values should be "close" , but not perfect (maybe we can set 5.8 and your lens only support 6)
My camera stays RED - SDI Setup
The camera protocol is unidirectionnal, so there is no real check link.
But if the camera is RED, it means that the link between RIO/RSBM, or RCP/CI0-BM is broken.
Check wiring and that's probably the SDI board that's dead.